Are you looking to add a touch of tranquility and natural beauty to your outdoor space? Look no further than a DIY clay pot water feature! This simple yet elegant project is the perfect way to bring the soothing sounds of flowing water to your garden, patio, or balcony.
At Idyl, your one-stop shop for all things gardening in Bangalore, we're excited to share our step-by-step guide on how to create your very own clay pot water feature. Whether you're a seasoned DIYer or a beginner gardener, this project is easy to tackle and the results are truly stunning.
Gathering Your Supplies
To get started, you'll need a few key supplies:
- 2-3 unglazed clay pots in varying sizes (the larger the pots, the bigger your water feature will be)
- A submersible water pump
- Silicone sealant
- Gravel or river rocks
- Outdoor-safe paint or sealant (optional)
The great thing about this project is that you can use materials you may already have on hand or easily find at your local Idyl garden center. We recommend choosing pots with a slightly tapered shape for a more visually appealing design.
Preparing the Pots
Once you have your supplies, the first step is to prepare the pots. Start by thoroughly cleaning the inside and outside of each pot to remove any dirt or debris. This will help ensure a smooth, even finish for your water feature.
Next, use a drill or a masonry bit to create a hole in the bottom of the largest pot. This is where your water pump will be installed. Be sure to measure the size of your pump and create a hole that will accommodate it snugly.
For the remaining pots, you'll want to create a drainage hole near the bottom. This will allow excess water to flow through and prevent the pots from becoming waterlogged.
Assembling the Water Feature
Now it's time to start assembling your clay pot water feature. Begin by placing the largest pot upside down and applying a generous amount of silicone sealant around the drainage hole. This will help secure the water pump in place.
Carefully insert the water pump into the hole, making sure it's centered and secure. Run the power cord through the pot and out the drainage hole.
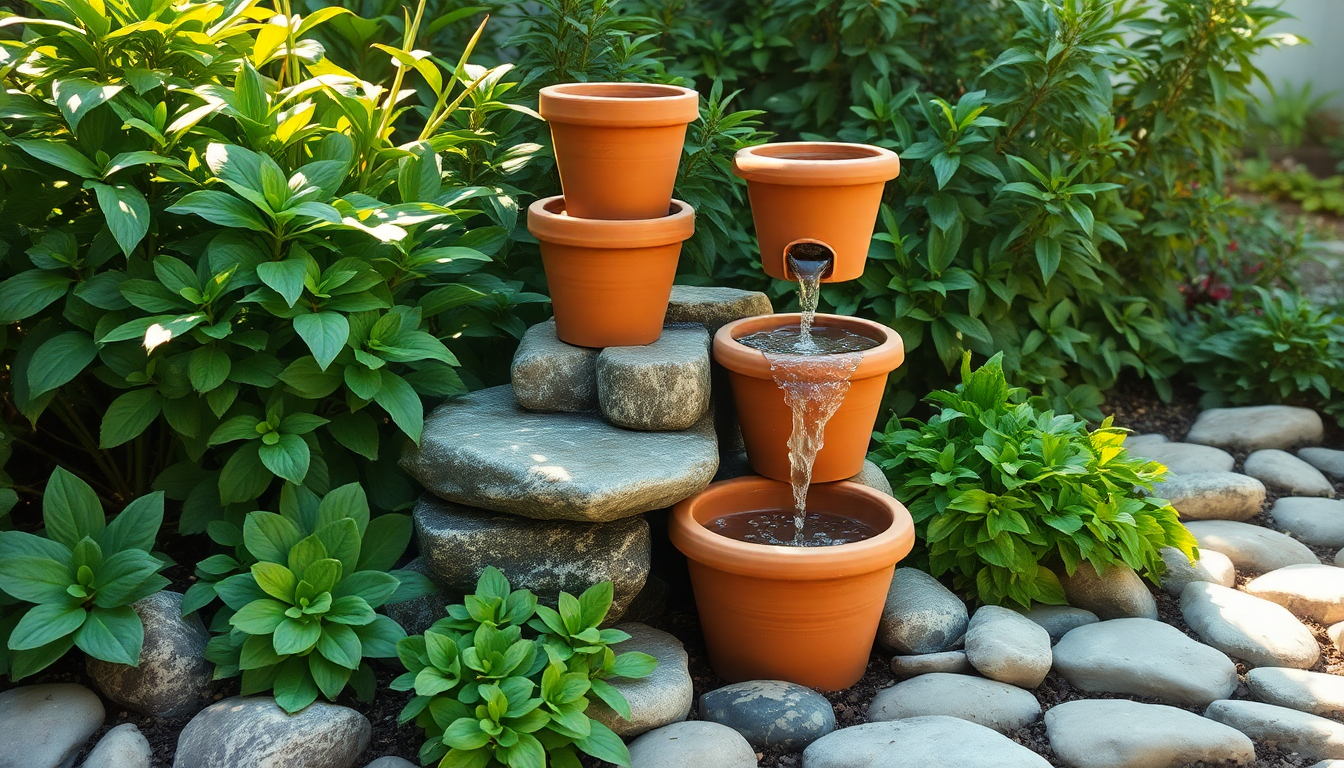
Next, stack the remaining pots on top of the largest one, applying silicone sealant between each layer to create a stable, leak-proof structure. Be sure to offset the pots slightly to create a visually interesting, cascading effect.
Once the pots are stacked and sealed, it's time to add the finishing touches. Fill the bottom pot with gravel or river rocks, creating a base for the water to flow over. Carefully pour water into the top pot, allowing it to cascade down through the layers.
Customizing Your Water Feature
If desired, you can further customize your clay pot water feature by painting or sealing the exterior of the pots. This can help protect the clay from weathering and add a personal touch to your design.
Idyl offers a wide range of outdoor-safe paints and sealants that are perfect for this project. Choose a color that complements your garden's aesthetic or opt for a natural, earthy tone to blend seamlessly with your surroundings.
Enjoying Your DIY Water Feature
Once your clay pot water feature is assembled and ready to go, sit back and enjoy the soothing sounds of flowing water. This calming addition to your outdoor space is not only visually stunning but can also help attract beneficial wildlife, such as birds and butterflies, to your garden.
Remember to keep the water feature clean and well-maintained by regularly checking the water level and cleaning out any debris that accumulates. With a little bit of care, your DIY clay pot water feature will provide years of enjoyment and tranquility.
If you need any additional supplies or have questions about this project, the team at Idyl is here to help. Visit our Bangalore garden center or shop online at Idyl.com to explore our full range of gardening products and services.
Happy gardening!
0 comments