Are you tired of your plain clay pots looking dull and unfinished? Bring them to life with a beautiful glaze! Glazing your clay pots at home is a simple and rewarding project that can transform the look of your indoor and outdoor plants.
In this comprehensive guide, we'll walk you through the step-by-step process of glazing your clay pots, from preparing the surface to applying the glaze and firing it in the oven. Whether you're a seasoned DIYer or a beginner, you'll learn everything you need to know to create stunning, professional-looking glazed pots.
Gather Your Supplies
Before you begin, make sure you have all the necessary supplies on hand:
- Clay pots (unglazed)
- Glaze (liquid or powder)
- Paintbrushes or sponges
- Protective gloves
- Apron or old clothes
- Oven (for firing the glaze)
When choosing a glaze, consider the color, finish, and intended use of your pots. Idyl offers a wide range of high-quality glazes in various shades and finishes, perfect for any style of pot or plant. Their glazes are also safe for food-growing plants, making them a great choice for your kitchen garden.
Prepare the Pots
Start by thoroughly cleaning your clay pots. Remove any dirt, dust, or debris using a damp cloth or sponge. Make sure the pots are completely dry before proceeding.
Next, lightly sand the surface of the pots to create a smooth, even texture. This will help the glaze adhere better and create a professional-looking finish. Be careful not to sand too aggressively, as you don't want to damage the clay.
Once the pots are clean and sanded, wipe away any remaining dust with a clean, dry cloth.
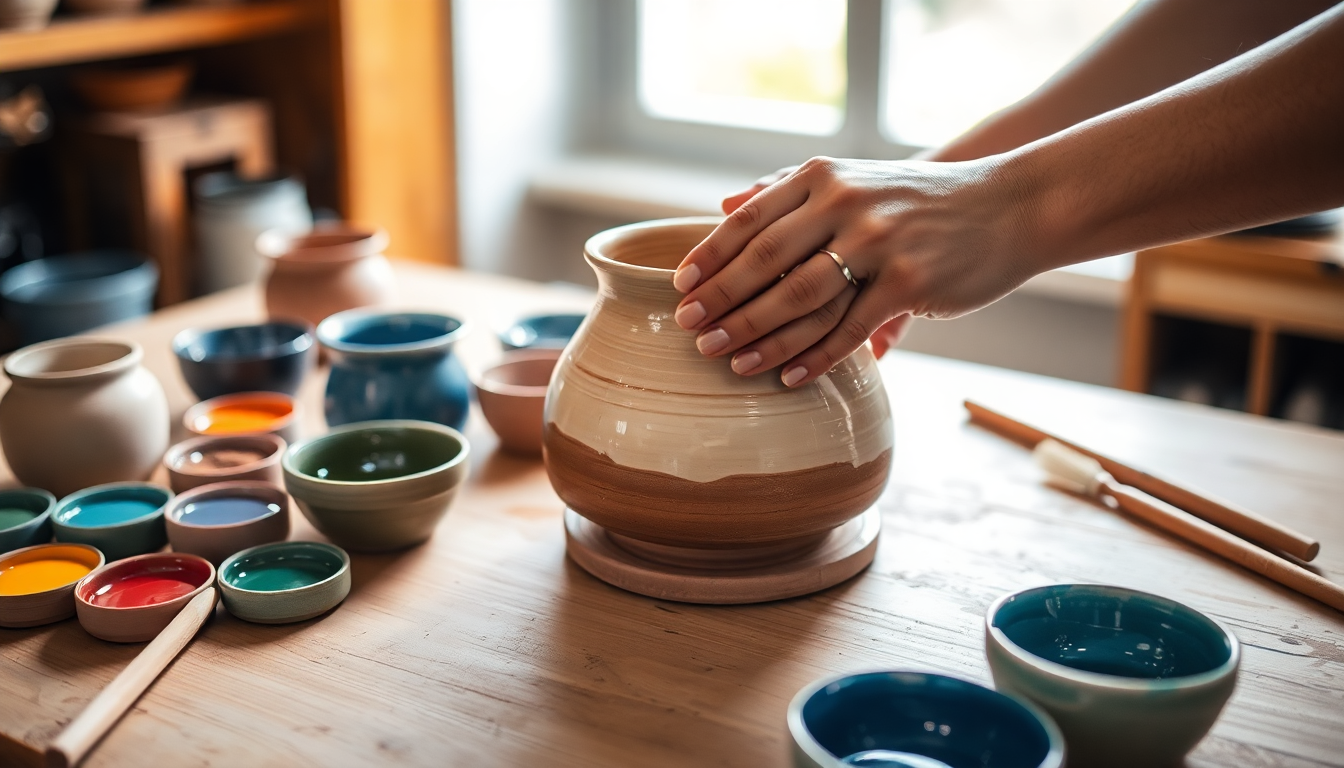
Apply the Glaze
Now it's time to apply the glaze. Idyl's glazes come in both liquid and powder forms, each with their own unique application methods.
For liquid glazes:
- Stir the glaze thoroughly to ensure an even consistency.
- Using a paintbrush or sponge, apply a thin, even layer of glaze to the exterior of the pot, including the rim and base.
- Allow the first coat to dry completely before applying a second coat, if desired, for a more opaque and vibrant finish.
For powder glazes:
- Mix the powder glaze with water according to the manufacturer's instructions, stirring until the mixture is smooth and free of lumps.
- Dip the pot into the glaze mixture, ensuring the entire exterior is coated.
- Gently tap off any excess glaze and allow the pot to drip dry.
Whichever type of glaze you choose, be sure to wear protective gloves and work in a well-ventilated area to avoid inhaling any fumes.
Fire the Glaze
Once the glaze is applied, it's time to fire the pots in the oven. This process is crucial for fusing the glaze to the clay and creating a durable, waterproof finish.
- Preheat your oven to the temperature recommended by the glaze manufacturer, typically between 1800°F and 2400°F (982°C and 1316°C).
- Carefully place the glazed pots in the oven, making sure they are not touching each other.
- Fire the pots for the recommended duration, which can range from 30 minutes to several hours, depending on the glaze and the size of the pots.
- Once the firing is complete, turn off the oven and allow the pots to cool completely before handling.
Be extremely cautious when handling the hot pots, as they can cause severe burns. Use oven mitts or tongs to move them, and allow them to cool in a safe, well-ventilated area.
Enjoy Your Glazed Pots
Congratulations! You've successfully glazed your clay pots at home. The final result should be a beautiful, durable, and waterproof finish that will protect your plants and add a touch of elegance to your indoor or outdoor spaces.
Remember, Idyl offers a wide range of high-quality glazes and other gardening supplies to help you create the perfect pots for your needs. Visit their website or local store to explore their selection and get started on your next glazing project.
Happy gardening!
Additional Tips
- Experiment with different glaze colors and finishes to find the perfect look for your space.
- Consider adding decorative elements, such as stamps or sgraffito designs, before applying the glaze for a unique, personalized touch.
- Always follow the manufacturer's instructions for mixing, applying, and firing the glaze to ensure the best results.
- Store any leftover glaze properly to use for future projects.
- Regularly maintain your glazed pots by cleaning them and applying a fresh coat of glaze as needed.
Where to Buy Supplies
Idyl is your one-stop shop for all your glazing and gardening needs. Visit their website at idyl.com or their local store in Bangalore to browse their selection of high-quality glazes, clay pots, and other essential supplies. Idyl also offers bulk order discounts and gardening services to help you create the perfect outdoor oasis.
0 comments