Are your houseplants struggling in their plastic pots? It may be time for a pot rescue mission! Upgrading your plants from plastic to clay pots can have a transformative effect on their health and vitality. At Idyl, your one-stop shop for all things gardening in Bangalore, we're here to guide you through the process of repotting and transitioning your plants to their new clay home.
Understanding the Benefits of Clay Pots
While plastic pots may be convenient and budget-friendly, they often fall short when it comes to providing the optimal growing environment for your plants. Clay pots, on the other hand, offer a range of advantages that can significantly improve the overall health and performance of your indoor and outdoor greenery.
Improved Drainage and Aeration
Clay pots are porous, allowing excess moisture to evaporate more readily and preventing waterlogging. This improved drainage helps to prevent root rot and other moisture-related issues that can plague plants in plastic containers. Additionally, the porous nature of clay promotes better air circulation around the roots, which is essential for healthy root development.
Temperature Regulation
Clay pots help to regulate the temperature of the soil, insulating the roots from rapid temperature fluctuations. This is particularly beneficial in hot climates, as the clay helps to keep the soil cooler and prevent heat stress on the plant.
Nutrient Retention
The porous nature of clay also allows for better nutrient retention in the soil. As water evaporates through the walls of the pot, it leaves behind valuable minerals and nutrients that can be readily absorbed by the plant's roots.
Aesthetic Appeal
In addition to the practical benefits, clay pots also offer a more natural and visually appealing aesthetic compared to their plastic counterparts. The earthy tones and textured surfaces of clay pots can complement a wide range of indoor and outdoor decor styles, adding a touch of rustic charm to your gardening space.
Preparing for the Pot Rescue
Before you begin the process of repotting your plants, it's important to ensure that you have the right supplies on hand. At Idyl, we offer a wide selection of high-quality clay pots in various sizes and styles to suit your needs.
Gather Your Supplies
In addition to the new clay pot, you'll need the following items:
- Potting mix or soil specifically formulated for the type of plant you're repotting
- A trowel or small shovel
- Gloves (optional, but recommended to protect your hands)
- A watering can or spray bottle
Choose the Right Pot Size
When selecting a new clay pot, it's important to choose one that is slightly larger than the plant's current container. This will provide the roots with enough room to grow and thrive. As a general rule, the new pot should be 2-4 inches wider in diameter than the previous one.
Prepare the New Pot
Before placing your plant in the new clay pot, it's a good idea to prepare the container by adding a layer of drainage material, such as small pebbles or a piece of broken clay pot, to the bottom. This will help to ensure proper drainage and prevent waterlogging.
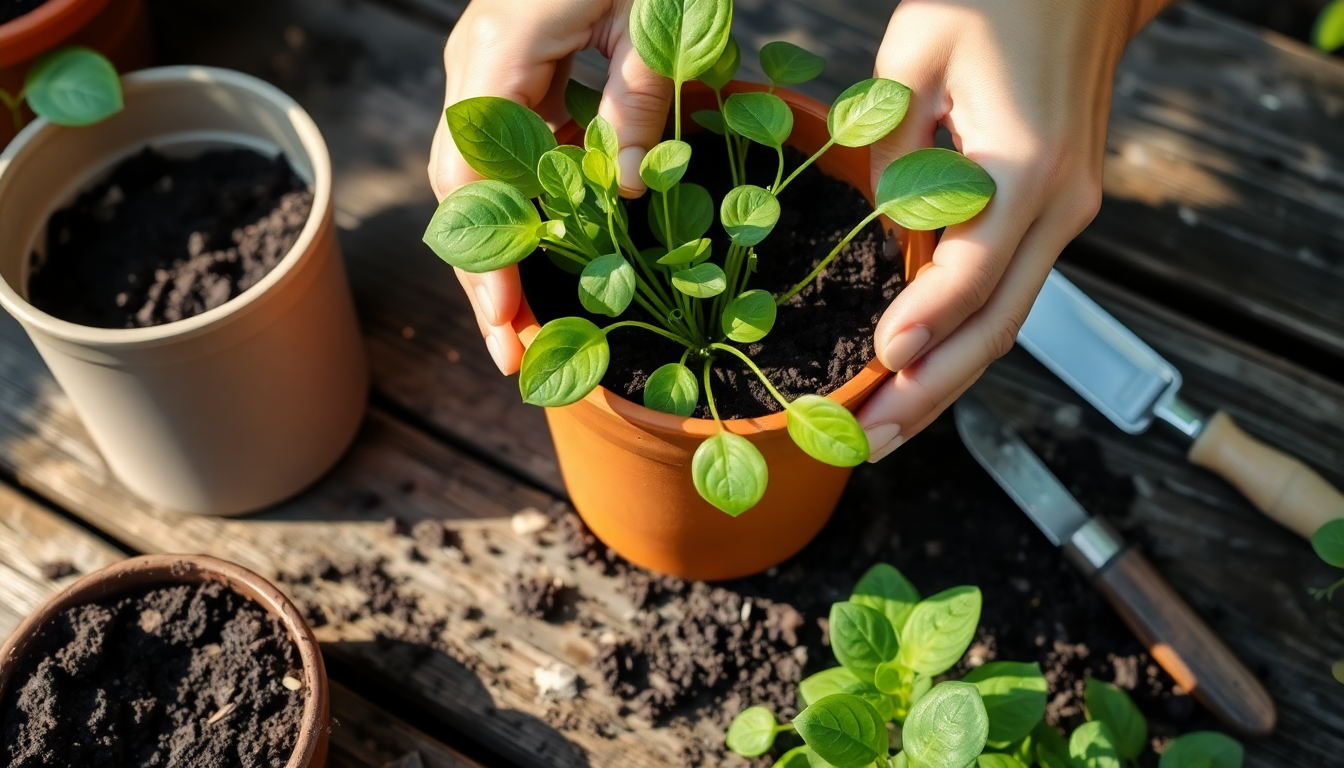
The Repotting Process
Now that you have all the necessary supplies, it's time to begin the pot rescue mission. Follow these steps to ensure a smooth transition for your plants:
Step 1: Gently Remove the Plant
Carefully remove the plant from its current plastic pot. Avoid pulling on the stem, as this can damage the plant. Instead, gently tip the pot over and ease the plant out, being mindful of the root system.
Step 2: Inspect the Roots
Take a close look at the root system of your plant. If the roots are tightly bound or appear to be growing in a circular pattern, it's a sign that the plant needs to be repotted. Gently loosen any tangled or matted roots to encourage healthy growth.
Step 3: Add Soil to the New Pot
Fill the new clay pot with a layer of fresh potting mix or soil, leaving enough room at the top for the plant's root system.
Step 4: Carefully Place the Plant
Gently lower the plant into the new clay pot, making sure that the root system is evenly distributed and not crowded. Add more soil around the sides, if necessary, to secure the plant in place.
Step 5: Water Thoroughly
After placing the plant in the new clay pot, water it thoroughly, ensuring that the soil is evenly moist but not waterlogged.
Step 6: Adjust the Soil Level
If the soil settles after watering, add a bit more to the top of the pot to ensure that the plant is at the same level as it was in the previous container.
Caring for Your Newly Potted Plants
Now that your plants have been rescued and transplanted into their new clay homes, it's important to provide them with the proper care and attention to help them thrive.
Watering
Clay pots will require more frequent watering than their plastic counterparts, as the porous nature of the material allows for faster evaporation. Check the soil regularly and water when the top inch or two becomes dry.
Fertilizing
To support the increased growth and nutrient demands of your plants in their new clay pots, be sure to fertilize them regularly with a balanced, water-soluble fertilizer. Follow the instructions on the product label for the appropriate application rate and frequency.
Monitoring for Adjustments
Keep a close eye on your plants in the weeks and months following the repotting process. If you notice any signs of stress, such as wilting, discoloration, or stunted growth, you may need to adjust the watering schedule or provide additional care.
At Idyl, we're committed to helping you create a thriving, healthy garden, both indoors and out. Whether you're looking to upgrade your plants from plastic to clay pots or need any other gardening supplies and services, our team of experts is here to assist you every step of the way. Visit our shop in Bangalore or shop online to explore our full selection of products and services.
Happy potting and plant rescuing!
0 comments