As the sun sets over the bustling streets of Sarjapur, Bangalore, the team at Idyl, a one-stop shop for all your gardening needs, is gearing up to share their expertise on a topic that's near and dear to the hearts of plant enthusiasts – repotting plants in terracotta pots.
Idyl, known for its wide selection of plants, fertilizers, and gardening services, has become a go-to destination for Bangalore's growing community of balcony gardeners and plant lovers. In this comprehensive guide, we'll walk you through the step-by-step process of repotting your beloved plants in terracotta pots, ensuring they thrive and flourish in their new homes.
Understanding the Importance of Repotting
Repotting plants is a crucial aspect of plant care, as it allows your greenery to continue growing and thriving. As plants mature, their root systems expand, and the soil in their current pots becomes depleted of essential nutrients. Repotting your plants into larger terracotta pots provides them with the space and resources they need to continue their growth journey.
Terracotta pots, with their porous nature, are particularly well-suited for repotting, as they allow for better air circulation and drainage, which are essential for the health of your plants. By following the right techniques, you can ensure your plants make a smooth transition to their new homes, setting them up for success.
Preparing for the Repotting Process
Before you begin the repotting process, it's important to gather the necessary supplies. At Idyl, we recommend having the following items on hand:
- Terracotta pots in the desired size
- Fresh, high-quality potting soil
- Gardening gloves
- Trowel or small shovel
- Pruning shears (if needed)
- Water
Once you have all the supplies ready, it's time to start the repotting process.
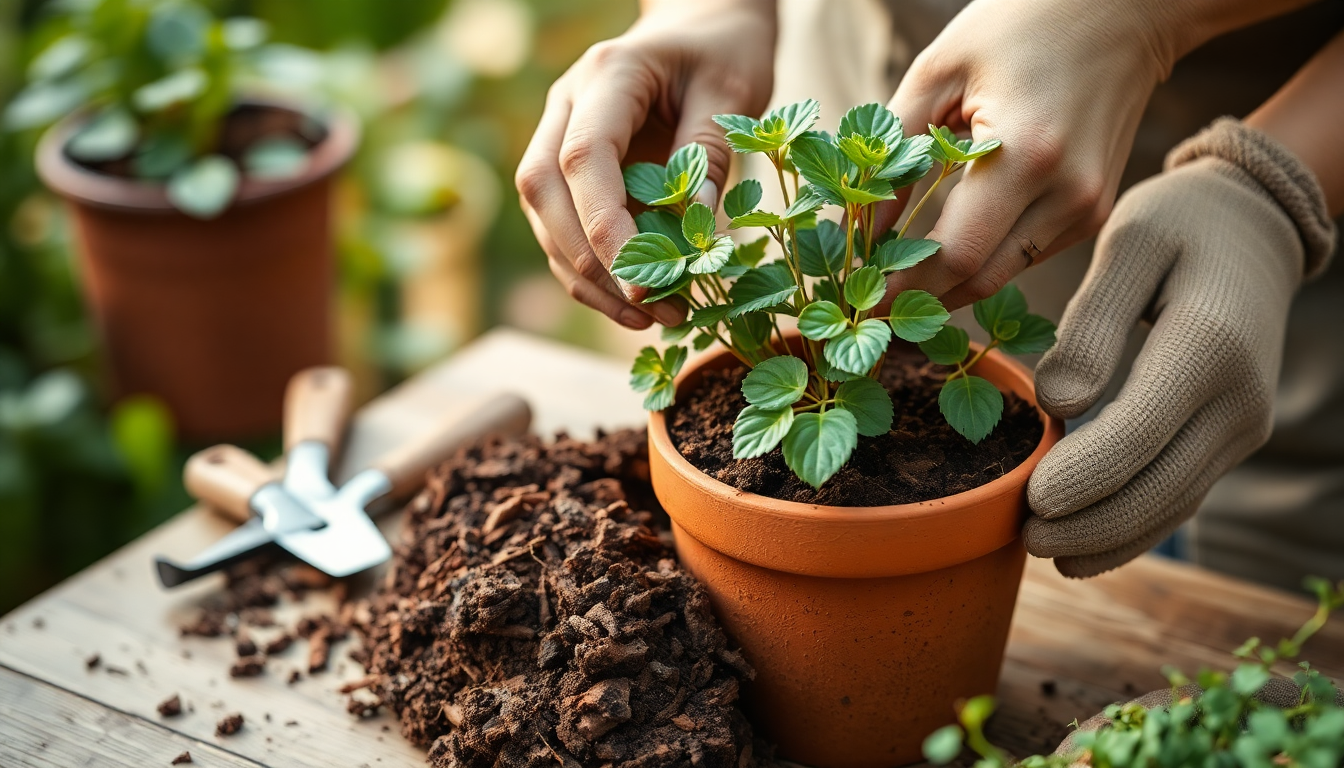
Step-by-Step Guide to Repotting Plants in Terracotta Pots
-
Choose the Right Timing: The best time to repot your plants is typically in the spring or early summer, when they are actively growing. Avoid repotting during the winter months, as plants are in a dormant state and may not respond well to the stress of being transplanted.
-
Prepare the New Pot: Start by ensuring your new terracotta pot has adequate drainage holes at the bottom. This will allow excess water to escape, preventing waterlogging and root rot. If the pot doesn't have drainage holes, you can create them using a drill or a sharp tool.
-
Loosen the Root Ball: Gently remove the plant from its current pot. If the roots are tightly bound, use your fingers or a small tool to loosen them up, being careful not to damage the delicate root system.
-
Inspect the Roots: Take a close look at the roots. If you notice any dead or damaged roots, use your pruning shears to trim them away, ensuring the healthy roots have the best chance of thriving in the new pot.
-
Add Potting Soil: Place a layer of fresh potting soil in the bottom of the new terracotta pot, creating a stable foundation for your plant. The amount of soil you'll need will depend on the size of the pot and the plant.
-
Position the Plant: Carefully place the plant in the center of the new pot, making sure the root ball is level with the rim of the pot. Add more potting soil around the sides, gently pressing it down to secure the plant in place.
-
Water Thoroughly: Once the plant is in its new home, water it thoroughly, ensuring the soil is evenly moist. Avoid overwatering, as terracotta pots are porous and can lead to faster drying of the soil.
-
Provide Aftercare: After repotting, place your plant in a shaded area for a few days to allow it to adjust to its new environment. Gradually reintroduce it to its regular sunlight exposure over the course of a week.
Remember, the key to successful repotting is to handle your plants with care, provide them with the right soil and pot, and give them time to acclimate to their new surroundings. By following these steps, you'll be well on your way to enjoying a thriving, lush balcony garden in Sarjapur.
At Idyl, we're dedicated to helping Bangalore's plant enthusiasts cultivate their green spaces with confidence. Whether you're a seasoned gardener or a beginner, our team of experts is always here to provide guidance and support. Visit our Sarjapur store or shop online to explore our wide selection of plants, terracotta pots, and gardening essentials, and let us help you create the balcony oasis of your dreams.
Happy repotting!
Frequently Asked Questions
How often should I repot my plants?
The frequency of repotting depends on the plant's growth rate and the size of the pot. As a general rule, most plants should be repotted every 1-2 years, or when you notice the roots starting to grow out of the drainage holes.
What size pot should I choose for repotting?
When selecting a new pot for repotting, choose one that is 2-4 inches larger in diameter than the current pot. This will provide enough space for the plant's roots to grow without being too large and causing waterlogging.
Can I reuse the same potting soil?
It's generally not recommended to reuse the same potting soil, as it may have become depleted of nutrients and can harbor pests or diseases. It's best to use fresh, high-quality potting soil when repotting your plants.
How do I know if my plant needs to be repotted?
Signs that your plant needs to be repotted include roots growing out of the drainage holes, the plant becoming rootbound, or the soil drying out more quickly than usual. If the plant appears stunted or the leaves are wilting, it's also a good indication that it's time to repot.
Can I repot during the winter?
It's best to avoid repotting during the winter months, as plants are in a dormant state and may not respond well to the stress of being transplanted. Wait until the spring or early summer when the plant is actively growing.
0 comments