As the sun sets over the lush gardens of Sarjapur, plant enthusiasts across the neighborhood turn to Idyl, Bangalore's premier online destination for all things gardening. Whether you're a seasoned green thumb or a budding plant parent, Idyl has become the go-to resource for everything from rare succulents to organic fertilizers.
But as your plants thrive and outgrow their current homes, the time comes to tackle the delicate task of repotting. And for those of us with a penchant for classic terracotta pots, the process can be particularly daunting. Fear not, fellow Sarjapur plant lovers – Idyl is here to share its top tips for repotting without breaking your beloved clay containers.
Understanding Terracotta Pots
Terracotta, derived from the Italian words "terra" (earth) and "cotta" (baked), is a timeless material that has been used in gardening for centuries. These porous clay pots offer numerous benefits for plant health, including:
- Excellent drainage: The natural porosity of terracotta allows excess moisture to evaporate, preventing waterlogging and root rot.
- Breathability: The porous nature of the clay also allows air to circulate around the roots, promoting healthy growth.
- Natural temperature regulation: Terracotta pots help maintain a consistent soil temperature, protecting delicate roots from extreme heat or cold.
- Aesthetic appeal: With their rustic, earthy charm, terracotta pots are a classic choice that complement a wide range of garden styles.
However, this same porosity and fragility that make terracotta pots so beneficial for plants can also make them challenging to work with during the repotting process. Fortunately, with the right techniques and a bit of care, you can successfully repot your plants without compromising the integrity of your beloved clay containers.
Preparing for Repotting
Before you begin the repotting process, it's essential to gather the necessary supplies and ensure your plants are ready for the transition. Here's what you'll need:
- A new pot, slightly larger than the current one (make sure it has adequate drainage holes)
- A trowel or small hand shovel
- A soft-bristled brush or cloth
- Potting mix suitable for your plant's needs
- Water
Start by thoroughly inspecting your plant's current pot. Look for any cracks, chips, or signs of wear and tear that could compromise the structural integrity of the terracotta. If the pot is in good condition, gently clean the exterior with your soft-bristled brush or cloth to remove any dirt or debris.
Next, check the soil moisture level. Ideally, the soil should be slightly damp but not waterlogged. If the soil is dry, water the plant a few hours before repotting to ensure the roots are hydrated and less likely to suffer stress during the process.
Removing the Plant
Carefully turn the pot upside down and gently tap the bottom to loosen the soil and plant. If the plant is stubborn, you can try inserting a trowel or small hand shovel along the edges to gently pry it loose. Avoid pulling the plant by the stem, as this can damage the delicate root system.
Once the plant is out of the pot, inspect the roots. If they are tightly coiled or have begun to grow out of the drainage holes, it's time to repot. Gently loosen any compacted roots with your fingers, being careful not to tear or damage them.
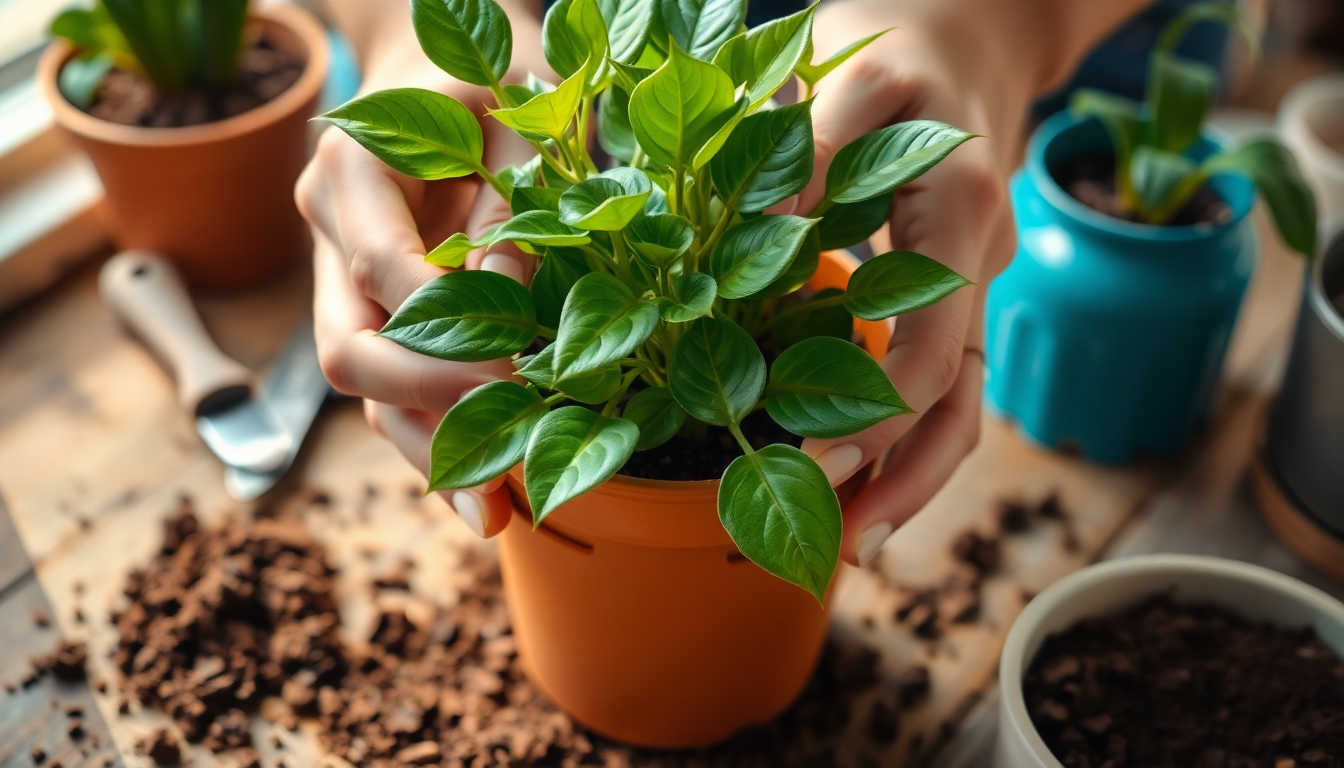
Repotting the Plant
Start by adding a layer of fresh potting mix to the bottom of the new, slightly larger pot. Carefully place the plant in the center, making sure the root ball is level with the rim of the pot.
Gradually add more potting mix around the sides of the root ball, gently pressing it down to eliminate any air pockets. Avoid packing the soil too tightly, as this can inhibit the plant's ability to absorb water and nutrients.
When the plant is securely in place, water it thoroughly, allowing the excess water to drain out of the bottom of the pot. This will help the soil settle and ensure the roots have access to the moisture they need.
Caring for Your Repotted Plant
After the repotting process, your plant may experience a bit of shock and require some extra attention. Place it in a shaded area for a few days, and avoid direct sunlight or heavy watering until the plant has had a chance to acclimate to its new home.
Monitor the soil moisture closely, and water only when the top inch or two of soil has dried out. Depending on the plant, you may need to fertilize it with a balanced, slow-release formula to provide the necessary nutrients for healthy growth.
With patience and care, your repotted plant will soon bounce back and thrive in its new terracotta pot. Remember, the key to successful repotting lies in understanding the unique properties of terracotta and handling your clay containers with the utmost care.
So, fellow Sarjapur plant enthusiasts, the next time you need to give your beloved greenery a fresh start, turn to Idyl for all the tips and tricks to keep your terracotta pots intact and your plants flourishing. Happy repotting!
Conclusion
Repotting can be a daunting task, especially when it comes to delicate terracotta containers. But with the right techniques and a little bit of care, you can successfully transplant your plants without compromising the integrity of your beloved clay pots.
At Idyl, we understand the unique challenges of working with terracotta and are here to share our top tips for repotting success. From preparing your pots to gently handling the root systems, we've got you covered with all the information you need to keep your Sarjapur garden thriving.
So, whether you're a seasoned plant parent or just starting your green thumb journey, remember to turn to Idyl for all your gardening needs. With our expert guidance and high-quality products, you'll be well on your way to creating a lush, vibrant oasis in your own backyard.
Happy repotting, Sarjapur plant lovers!
0 comments