As the sun shines brightly over the bustling streets of HSR Layout, Bangalore, the team at Idyl, your one-stop shop for all things gardening, is excited to share their expertise on the art of repotting plants into clay pots. Whether you're a seasoned green thumb or a budding plant enthusiast, this comprehensive guide will equip you with the knowledge and confidence to breathe new life into your beloved houseplants and outdoor greenery.
Understanding the Benefits of Clay Pots
Clay pots have long been a favorite among gardeners and plant enthusiasts for their timeless aesthetic and numerous practical benefits. Unlike their plastic counterparts, clay pots are porous, allowing for better air circulation and drainage around the roots of your plants. This natural breathability helps prevent waterlogging and promotes healthier root systems, ultimately leading to lush, vibrant foliage.
Moreover, clay pots are renowned for their ability to regulate soil temperature, protecting delicate roots from extreme heat or cold. This temperature regulation is particularly crucial in the warm climate of HSR Layout, where plants can be susceptible to heat stress during the summer months.
Preparing for the Repotting Process
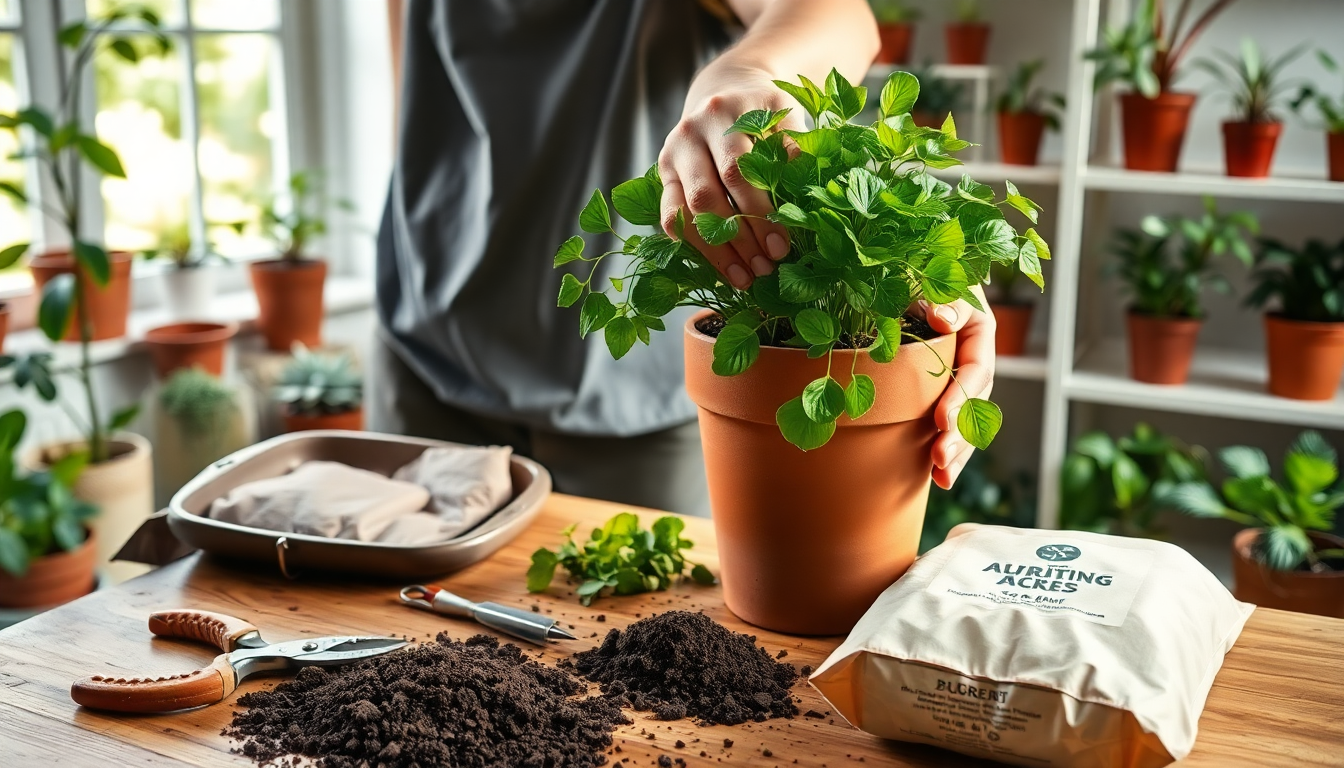
Before you embark on your repotting journey, it's essential to gather the necessary supplies. At Idyl, your trusted gardening partner in HSR Layout, you'll find a wide selection of high-quality clay pots in various sizes and designs to suit your plant's needs. Additionally, you'll want to have on hand a well-draining potting mix, a trowel, and a pair of clean, sharp pruners.
Choosing the Right Pot Size
One of the most crucial factors in successful repotting is selecting the appropriate pot size for your plant. As a general rule, you'll want to choose a pot that is only slightly larger than the plant's current container. This gradual increase in size will encourage healthy root growth without overwhelming the plant's resources.
To determine the ideal pot size, gently remove your plant from its current container and measure the root ball. The new clay pot should be about 2-3 inches wider in diameter than the existing root system. This extra space will allow for future growth and prevent the roots from becoming overcrowded.
Preparing the Potting Soil
The quality of your potting soil can make all the difference in the health and vitality of your repotted plants. At Idyl, we recommend using a well-draining, nutrient-rich potting mix specifically formulated for container gardening. Avoid using garden soil, as it can be too dense and heavy for optimal plant growth in clay pots.
Before filling your new clay pot, mix the potting soil with a small amount of compost or aged bark to improve drainage and aeration. This simple step will ensure your plants have access to the essential nutrients and oxygen they need to thrive.
The Repotting Technique
With your supplies ready, it's time to dive into the repotting process. Follow these step-by-step instructions for a successful transition into your new clay pots:
-
Gently Remove the Plant: Carefully turn the plant's current container upside down and gently tap the bottom to loosen the root ball. Avoid pulling the plant by the stem, as this can damage the delicate roots.
-
Inspect the Roots: Examine the root system for any signs of damage or disease. Trim away any dead or damaged roots using your clean, sharp pruners.
-
Prepare the New Pot: Place a small layer of your prepared potting mix in the bottom of the new clay pot. This will provide a stable foundation for your plant.
-
Position the Plant: Gently lower the plant into the new pot, making sure the root ball is centered and the plant is standing upright.
-
Fill the Gaps: Carefully fill the space around the root ball with the remaining potting mix, taking care not to compact the soil too tightly.
-
Water Thoroughly: Once the plant is in place, water the soil thoroughly, ensuring the potting mix is evenly moist but not waterlogged.
-
Add Finishing Touches: Top off the soil with a thin layer of mulch or decorative stones to help retain moisture and prevent weed growth.
Remember, the key to successful repotting is to handle your plants with care and patience. Avoid overpotting, which can lead to waterlogging and root rot, and be mindful of the plant's specific needs and growing conditions in the warm climate of HSR Layout.
Aftercare and Maintenance
After the initial repotting, it's essential to provide your plants with the proper aftercare to ensure a smooth transition into their new clay pots. Here are some tips to keep your plants thriving:
Watering Considerations
Clay pots are known for their ability to wick moisture away from the soil, so you may need to water your plants more frequently than you would in plastic containers. Keep a close eye on the soil moisture and water when the top inch or two begins to dry out.
Fertilizing Needs
To replenish the nutrients used during the repotting process, apply a balanced, water-soluble fertilizer every 4-6 weeks during the growing season. This will help your plants establish strong roots and promote lush, healthy growth.
Monitoring for Pests and Diseases
Regularly inspect your repotted plants for any signs of pests or diseases. Idyl's team of gardening experts is always available to provide guidance and recommend appropriate treatment solutions if any issues arise.
Adjusting to New Environments
Be patient as your plants acclimate to their new clay pots and the unique growing conditions of HSR Layout. It may take some time for them to settle in, so resist the urge to transplant them again too soon.
By following these expert tips and taking advantage of the resources available at Idyl, your one-stop gardening destination in HSR Layout, you'll be well on your way to reviving your plants and enjoying the countless benefits of clay pot gardening.
Happy repotting, and let the Idyl team know if you have any other questions or need further assistance!
0 comments