In the bustling neighborhood of HSR Layout, where lush greenery and vibrant gardens adorn the streets, a common sight often catches the eye - the occasional broken clay pot, a once-cherished vessel now reduced to shards. But fear not, fellow gardeners, for Idyl, your one-stop shop for all things gardening in Bangalore, is here to share a comprehensive guide on how to breathe new life into these fragile yet beloved containers.
Understanding Clay Pots: The Allure and the Challenges
Clay pots have long been a staple in the world of gardening, prized for their natural beauty, durability, and ability to provide optimal growing conditions for a wide variety of plants. Their porous nature allows for better air circulation and moisture regulation, making them a favorite among plant enthusiasts. However, the very qualities that make clay pots so appealing also contribute to their vulnerability - they can be easily cracked, chipped, or even shattered, especially when exposed to the elements or subjected to rough handling.
The Importance of Proper Care
Maintaining the integrity of your clay pots is crucial, not only for the aesthetic appeal of your garden but also for the health and well-being of your plants. Damaged pots can lead to issues such as poor drainage, soil erosion, and even the introduction of harmful bacteria or fungi. By learning the art of repairing and restoring these fragile vessels, you can extend their lifespan and ensure your plants thrive in their ideal environment.
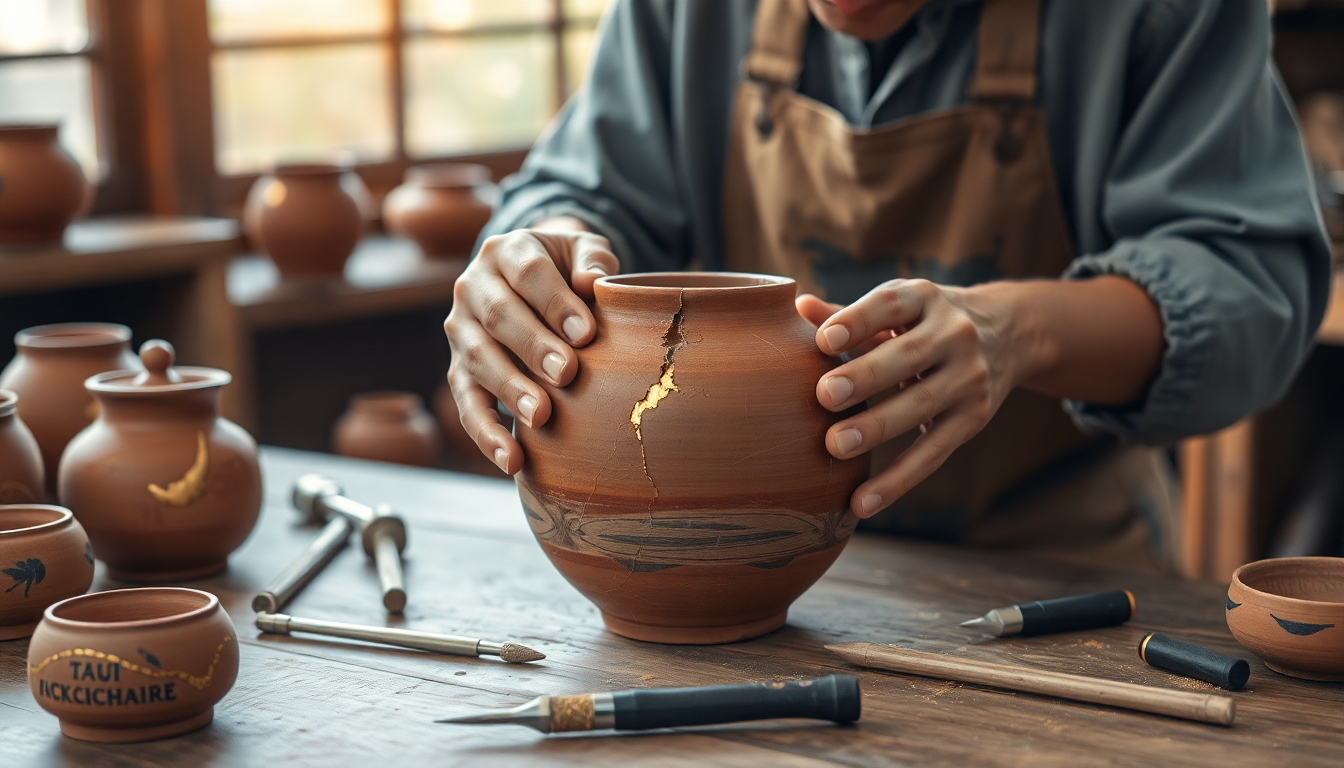
Step-by-Step Guide to Repairing Broken Clay Pots
Whether you've encountered a small crack or a complete shatter, Idyl's experts have compiled a comprehensive guide to help you revive your beloved clay pots. Follow these steps, and you'll be well on your way to restoring your garden's beauty.
Gathering the Necessary Supplies
Before you begin the repair process, make sure you have the following items on hand:
- Epoxy adhesive or a specialized clay pot repair kit
- Fine-grit sandpaper
- Paintbrush or small applicator tool
- Protective gloves
- Newspaper or a drop cloth to protect your work surface
Assessing the Damage
Carefully examine the broken pot, taking note of the extent of the damage. Determine whether the crack or break is clean and straightforward or if there are multiple fragments that need to be reassembled.
Cleaning and Preparing the Pot
Gently remove any loose debris or soil from the broken edges using a soft-bristled brush. If necessary, use the fine-grit sandpaper to lightly smooth the surfaces, ensuring a clean and even surface for the adhesive.
Repairing the Pot
-
For Clean Cracks or Breaks: Apply a generous amount of epoxy adhesive or the recommended product from a clay pot repair kit to the broken edges, ensuring complete coverage. Carefully align the pieces and hold them in place until the adhesive sets, following the manufacturer's instructions.
-
For Shattered Pots: Carefully reassemble the fragments, using the epoxy adhesive or repair kit to secure each piece in its proper position. Apply pressure and hold the pieces together until the adhesive dries.
-
Reinforcing the Repair: Once the initial adhesive has set, you may choose to apply an additional layer of epoxy or repair compound to the exterior of the pot, creating a more robust and durable finish.
Finishing Touches
After the repair has fully cured, you can further enhance the appearance of your restored clay pot. Use the fine-grit sandpaper to smooth any rough edges or uneven surfaces. If desired, you can apply a coat of sealant or a decorative finish, such as a paint or stain, to blend the repaired area seamlessly with the rest of the pot.
Caring for Repaired Clay Pots
To ensure the longevity of your restored clay pots, it's essential to implement proper care and maintenance practices. Here are some tips to keep your pots in top condition:
Proper Placement and Handling
Avoid placing your clay pots in high-traffic areas or locations prone to accidental bumps and knocks. When moving or repositioning your pots, handle them with care, supporting the entire base to prevent further cracking or breaking.
Weatherproofing and Insulation
Protect your repaired clay pots from the elements by applying a weatherproofing sealant or coating. This will help prevent moisture damage, freezing, and cracking during extreme weather conditions.
Regular Inspection and Maintenance
Periodically inspect your clay pots for any signs of wear or new cracks. Address any issues promptly to prevent further deterioration and ensure the longevity of your repaired containers.
Embracing the Beauty of Restored Clay Pots
By following Idyl's step-by-step guide, you can transform your broken clay pots into stunning, one-of-a-kind pieces that will add character and charm to your garden. Embrace the imperfections and celebrate the unique beauty of these revived vessels, knowing that you've breathed new life into them with your own hands.
Remember, the journey of gardening is not just about the plants themselves, but also the vessels that house them. With a little care and attention, your repaired clay pots will continue to be a cherished part of your outdoor oasis for years to come.
So, let's raise a (repaired) glass to the resilience of clay pots and the joy of gardening in HSR Layout. Happy repairing, and may your garden flourish with the renewed beauty of your restored treasures.
0 comments