As the sun sets on another day in the garden, you can't help but notice the once-vibrant clay pots that have become dull and discolored over time. The once-rich terracotta hue has given way to a dingy, grimy appearance, and you can't help but feel a pang of disappointment. But fear not, fellow gardeners! Idyl, your one-stop-shop for all things gardening, is here to share a comprehensive guide on how to clean and restore those beloved clay pots to their former glory.
Gather Your Supplies
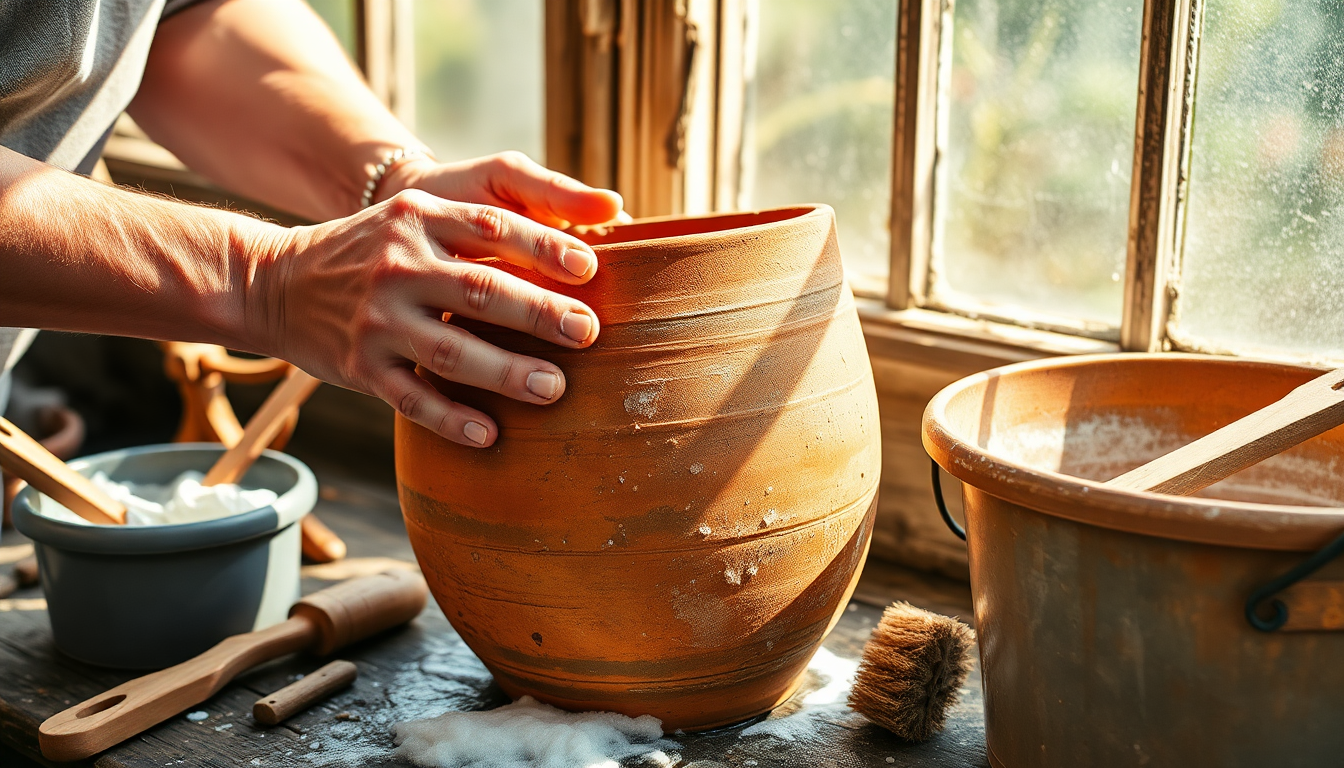
Before you embark on your pot-cleaning journey, it's important to have the right tools at your disposal. At Idyl, we recommend the following supplies:
- A soft-bristled scrub brush
- Baking soda
- White vinegar
- Warm water
- A bucket or large container
- A clean, dry cloth
With these simple items, you'll be well on your way to transforming those dull, dingy pots into sparkling, revitalized vessels for your prized plants.
Step 1: Soak and Scrub
Begin by filling your bucket or container with warm water. Add a generous amount of baking soda, stirring to create a gentle abrasive solution. Submerge the clay pots in the mixture and let them soak for at least 30 minutes. This will help to loosen any built-up grime or mineral deposits.
After the soaking period, grab your soft-bristled scrub brush and get to work. Gently scrub the pots, focusing on any particularly stubborn areas. Be sure to pay close attention to the nooks and crannies, as these are prime spots for dirt and mold to accumulate.
Step 2: Vinegar Rinse
Once you've given the pots a thorough scrubbing, it's time to move on to the next step: the vinegar rinse. Fill a separate container with a mixture of equal parts white vinegar and warm water. Submerge the pots in this solution and let them soak for an additional 15-20 minutes.
The acetic acid in the vinegar will help to break down any remaining residue and disinfect the pots, leaving them sparkling clean and ready for their next use.
Step 3: Dry and Condition
After the vinegar rinse, it's time to dry and condition the pots. Carefully remove them from the solution and place them on a clean, dry cloth. Allow them to air dry completely, ensuring that no moisture remains.
Once they're fully dry, you can apply a thin layer of linseed oil or beeswax to the exterior of the pots. This will help to seal and protect the terracotta, preventing future staining and discoloration.
Maintaining Your Revived Pots
With your clay pots now sparkling clean and conditioned, it's important to maintain their appearance. Be sure to give them a quick wipe-down with a damp cloth after each use, and consider giving them a thorough cleaning every few months to keep them looking their best.
At Idyl, we understand the importance of maintaining a beautiful, thriving garden. That's why we're dedicated to providing our customers with the tools and resources they need to keep their plants and their garden accessories in top condition. Whether you're in the market for high-quality gardening supplies or seeking expert advice, Idyl is your one-stop-shop for all your gardening needs.
So, what are you waiting for? Grab your supplies and get to work on reviving those grimy clay pots. With a little elbow grease and the guidance of Idyl, your garden will be looking better than ever in no time.
Conclusion
Restoring grimy clay pots is a simple yet rewarding task that can breathe new life into your garden. By following the step-by-step guide outlined above, you can easily transform those dull, discolored pots into vibrant, revitalized vessels for your plants. Remember to maintain your pots regularly, and don't hesitate to reach out to the team at Idyl for any additional gardening tips or advice. Happy cleaning!
0 comments