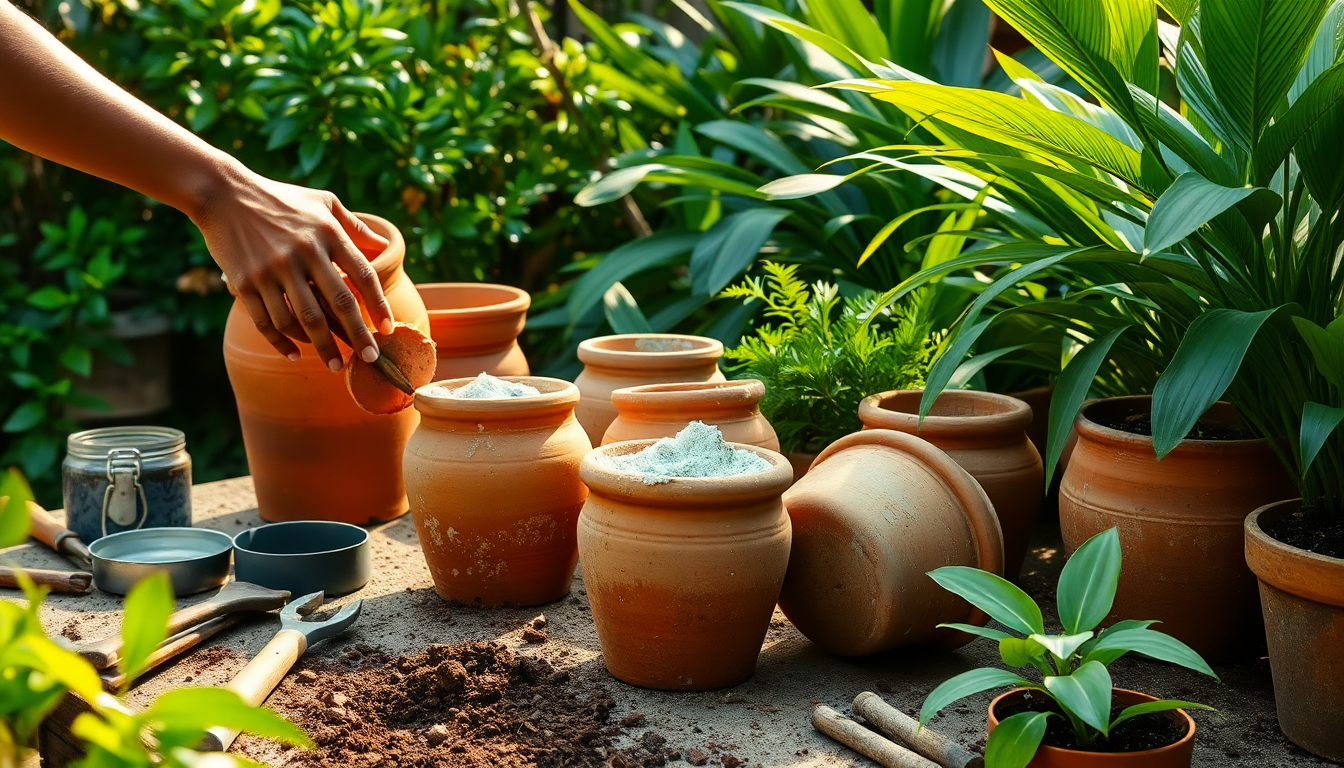
As a gardening enthusiast in Bangalore, you know that the right tools and accessories can make all the difference in the health and vibrancy of your plants. One essential item that often gets overlooked is the humble clay pot - a staple in many Idyl gardeners' collections. These porous vessels not only add a rustic charm to your outdoor space, but they also play a crucial role in providing the optimal growing conditions for your beloved greenery.
However, over time, clay pots can accumulate a buildup of mineral deposits, soil residue, and even mold, which can hinder their performance and detract from their aesthetic appeal. That's why it's important to regularly clean and maintain your clay pots to ensure they continue to serve you well. In this blog post, we'll explore the step-by-step process of reviving your clay pots, so you can keep your Idyl garden thriving.
Gather Your Supplies
Before you begin the cleaning process, make sure you have the following items on hand:
- A soft-bristled brush or sponge
- Vinegar or a mild detergent
- A bucket or large container
- Warm water
Step 1: Soak and Scrub
Start by filling your bucket or container with warm water. Add a few tablespoons of vinegar or a small amount of mild detergent and stir to create a cleaning solution. Submerge your clay pots in the solution and let them soak for 30 minutes to an hour, depending on the level of grime and buildup.
After the soaking period, use your soft-bristled brush or sponge to gently scrub the exterior and interior of the pots. Focus on any stubborn stains or mineral deposits, taking care not to scratch the surface. Rinse the pots thoroughly with clean water to remove any remaining residue.
Step 2: Disinfect and Dry
To ensure your clay pots are free from any harmful bacteria or mold, it's a good idea to disinfect them. Mix a solution of one part bleach to ten parts water, and use a clean cloth or sponge to wipe down the pots. Rinse the pots again with clean water and allow them to air dry completely before reusing.
Step 3: Condition and Protect
Once your clay pots are clean and dry, you can apply a thin layer of linseed oil or beeswax to the exterior. This will help to seal the porous surface, preventing future buildup and maintaining the pots' natural color and texture. Be sure to wipe away any excess oil or wax to avoid a sticky or greasy finish.
By following these simple steps, you can keep your Idyl clay pots in top condition, ensuring they continue to provide the perfect home for your plants for years to come. Remember, regular maintenance is key to prolonging the life and beauty of your gardening essentials. Happy potting!


0 comments