As the gardening enthusiasts in Bangalore know, Idyl is the go-to destination for all your plant care needs. Whether you're looking to expand your indoor jungle or revamp your outdoor oasis, Idyl has you covered with their wide selection of plants, fertilizers, and gardening tools.
One of the most common questions we get at Idyl is how to properly repot plants into clay pots without causing any damage to the delicate root systems. Repotting is a crucial step in maintaining the health and vigor of your plants, but if done incorrectly, it can lead to stunted growth, wilting, or even plant loss.
In this comprehensive guide, we'll walk you through the step-by-step process of repotting plants into clay pots, ensuring your greenery thrives in its new home.
Choosing the Right Clay Pot
When it comes to repotting, the type of pot you select is just as important as the technique. Clay pots are a popular choice for their natural, earthy aesthetic and their ability to promote healthy root growth. However, it's important to choose a pot that is the right size for your plant.
As a general rule, the new pot should be 2-4 inches wider in diameter than the plant's current pot. This extra space will allow the roots to spread out and establish themselves without becoming cramped or rootbound.
Preparing the Plant for Repotting
Before you begin the repotting process, it's important to prepare your plant. Start by thoroughly watering the plant a day or two before you plan to repot. This will help loosen the soil and make the roots more pliable, reducing the risk of damage during the process.
Next, gently remove the plant from its current pot. If the roots are tightly bound, you may need to use a knife or garden fork to loosen them around the edges. Be careful not to pull too hard, as this can cause the roots to tear.
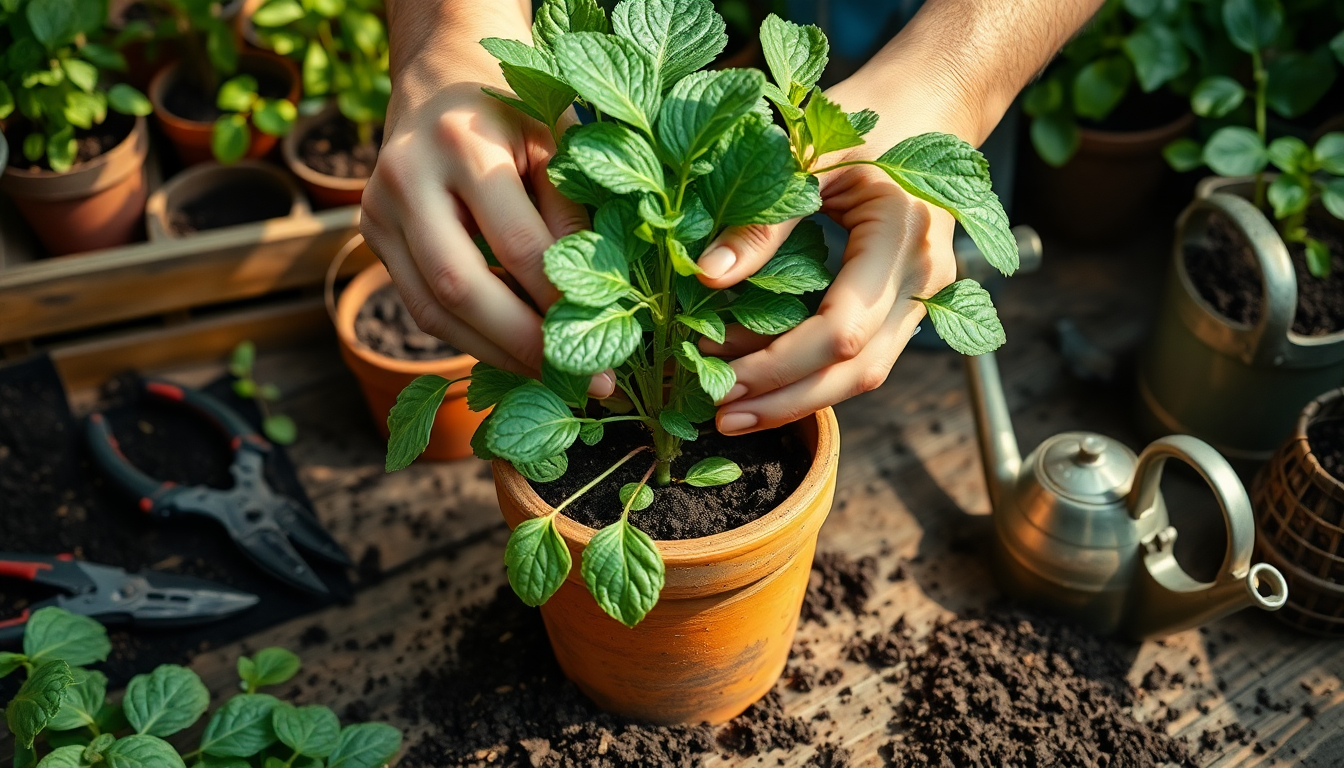
Repotting the Plant
Once you've removed the plant from its old pot, it's time to transfer it to the new clay pot. Start by adding a layer of fresh, well-draining potting mix to the bottom of the new pot. Gently place the plant in the center, making sure the root ball is level with the rim of the pot.
Carefully fill in the gaps around the sides with more potting mix, taking care not to compact the soil too tightly. You want to leave a bit of space between the top of the soil and the rim of the pot to allow for proper watering.
Aftercare and Maintenance
After repotting, it's important to water your plant thoroughly and place it in a shaded area for a few days to allow it to adjust to its new environment. Avoid direct sunlight or strong winds, as this can stress the plant and slow its recovery.
Over the next few weeks, monitor the plant's water needs and adjust your watering schedule accordingly. You may also want to consider adding a layer of mulch around the base of the plant to help retain moisture and suppress weed growth.
With the right techniques and a little TLC, your newly repotted plants will thrive in their clay pots, bringing beauty and life to your Bangalore garden. Visit Idyl today to find the perfect plants and supplies to elevate your outdoor oasis.
0 comments